Using KimiCue in your language - inside the KimiCue application go to Settings and you can change the language of the app. Restart KimiCue after changing and the full interface will switch to your chosen language.
Go into Rekordbox and any new songs you have, import them to the collection so you can see the waveform and BPM etc. Your songs can be in their own folder or a folder with the rest of your tracks from that genre as KimiCue can add auto cues via a specific folder.
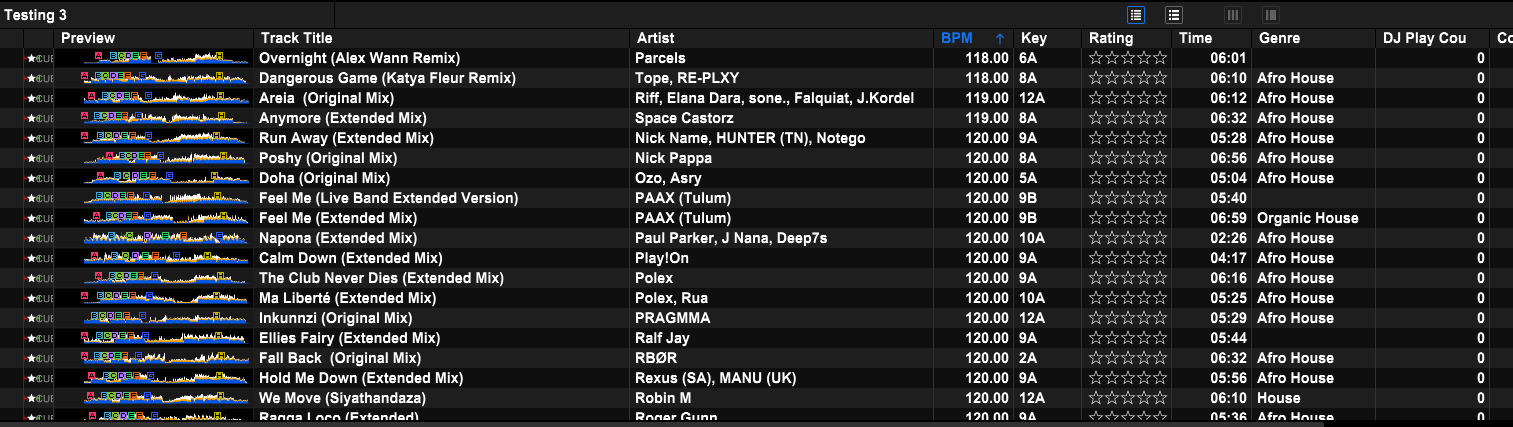
Please note: We are using a folder named “Testing 3” just for this specific tutorial to keep things easy to show you.
1Opening Rekordbox and Adding to Collection

2Export Your Full XML Collection from Rekordbox
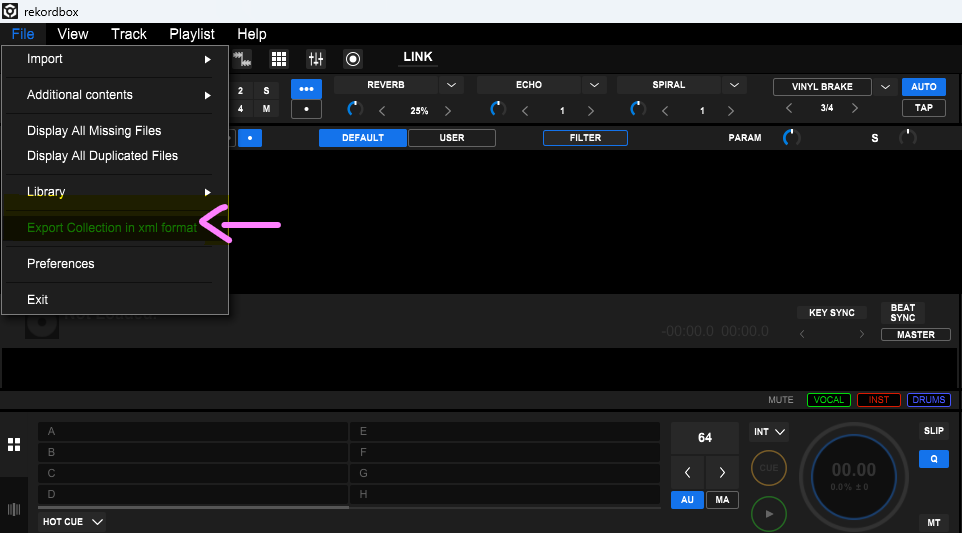
Now you must export your Rekordbox XML so go to File and choose “Export collection in xml format”. This will export your whole music collection in an xml format. Depending on how many tracks you have this can take some time - think 10 minutes per 1,000 tracks.
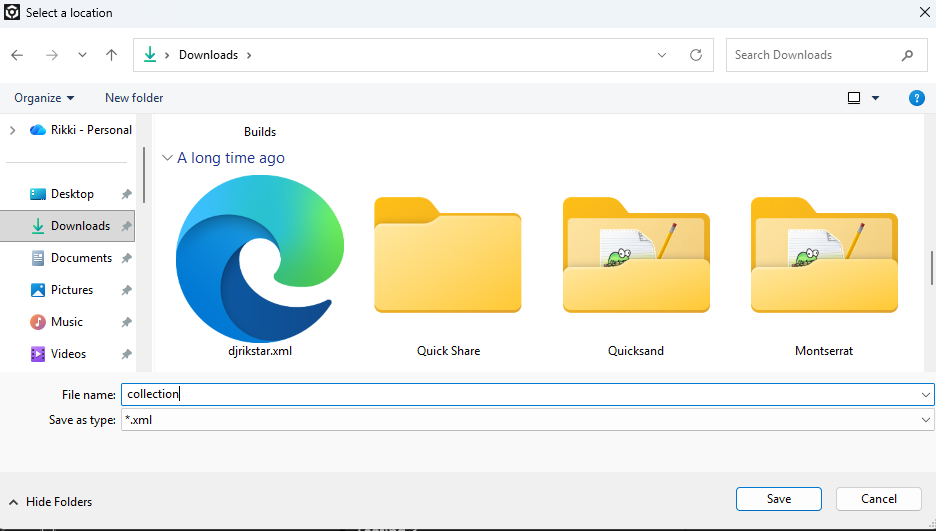
We recommend calling it collection.xml and saving it to your Downloads folder.
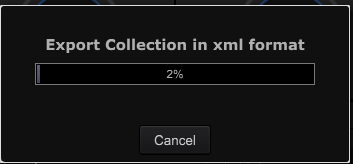
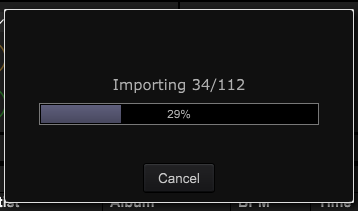
Now you will see a small dialogue box of your tracks exporting - grab a coffee or listen to some music and let it export.
KimiCue Tip: In Rekordbox settings there is a setting where you can auto-save the collection.xml daily to a cloud service such as Dropbox. We recommend this and then you can just pull the xml from there daily. This also means you will never lose your cue points if your hard drive fails, and with KimiCue we can put them back fast automatically.
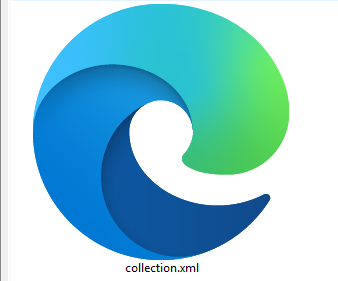
After the progress bar reaches 100% you will now see the collection.xml in your Downloads folder (your icon may look different).
Now you have everything you need - time to open KimiCue.
In this tutorial we are using the Pro version of the tool which you can purchase for a one-off lifetime low price on Gumroad. With the free version you are only permitted to do 2 tracks a day in either dry run mode or live mode, and you cannot use many features and genre templates - so we recommend getting the Pro version.
3Load Your XML into KimiCue
Once you have opened KimiCue you can either drag and drop your collection.xml onto the source area, or choose Browse XML and then select the collection.xml.

Once your xml has been loaded it will tell you:
- How many tracks don't have cue points and need cues
- Your total number of tracks in Rekordbox
- How many tracks are already done by KimiCue
- How many tracks have your own cue points - KimiCue will never overwrite these as a safeguard
4Playlist Filter
The playlist filter you can leave blank unless you have already made a playlist with the tracks you are looking to use KimiCue on. If you are following this how to guide, leave it blank.

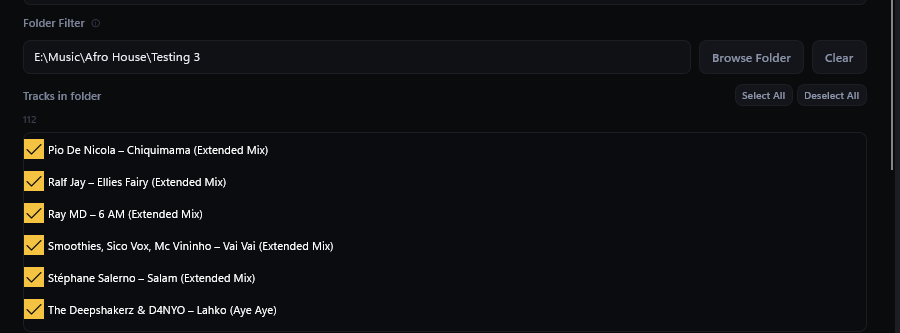
5Folder Filter
The KimiCue folder filter can be very important as most DJs have their tracks in one folder or one genre or sub-genre folder. We would say always use this to just do one folder of songs if you have your music organised that way.

Click on Browse Folder and then go to the folder where your music is and press Select Folder. If you are already in that folder you may need to go back one level then go back into that folder and click Select.
You will now see your folder and the tracks within it. You can choose just the ones you want to add KimiCue points to, or select all.
Please note: If you are unsure and accidentally select tracks that are already done, you will be warned about overwriting anyway.
6Genre Mode and Cue Template
Next you will need to set the Genre and Cue Template. For the genre mode you could keep it on Auto Detect and our Kimi Engine is clever enough to pick up on the genre. But if you are just doing one genre of tracks, choose your genre - you will get the guaranteed tuning we have done to the Kimi Engine specifically for your tracks.

As you can see below we have chosen the genre for this demo which is Afro House, along with the cue template of Extended Mix. You will know if you have extended mixes as it will say so on the track or it will have an extended intro and outro. If you are unsure put it on Kimi Auto, but here we have all extended mixes so this is what we have chosen for this guide.

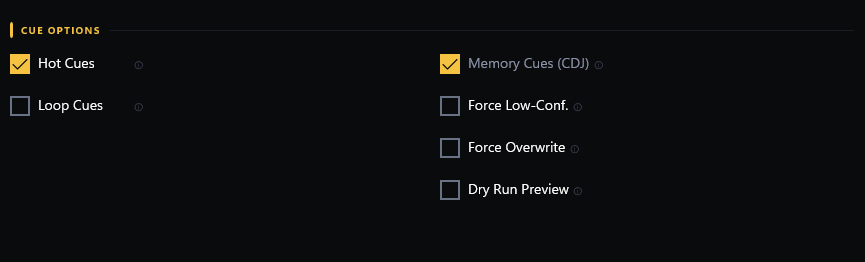
7Cue Options
The next section is the Cue Options where you can choose the different types of cues, whether to dry run, set up looping cues, or set up memory cues for club CDJ Pioneer gear.
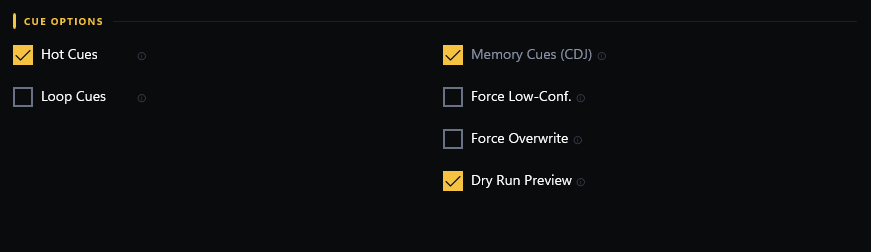
In this guide we have the following ticked:
Hot Cues
You will always want this ticked 99.9% of the time.
Memory Cues (CDJ)
So you can plug your USB stick into older Pioneer CDJs. If the club has older CDJs that don't read cue points, they will use memory cues which KimiCue also sets alongside the hot cues.
These are the only ones we need ticked and you will probably want the same most of the time. If you are interested in each option we have a dedicated page about these on our KimiCue Cue Options page.
Please note: You can dry run first if you want to make sure everything is correct - it is a practice run so you can review the results, then run again with dry run unticked.
Please note: You can also tick Force Overwrite if you already have KimiCue cue points set on some of your songs from the folder.
8Serato Users
The last section before you run the program is the Serato section. If you are a DJ who uses Serato - especially hip-hop and RnB DJs - you will need to tick Write Serato Cues. This will also add Serato tags to where the cue points are set so you can import the KimiCue cue points into Serato too.

9Start the Kimi Engine
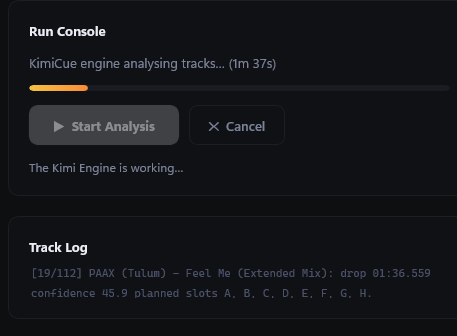
With everything set, click on the yellow Start Analysis button and watch the magic of our Kimi Engine get to work.
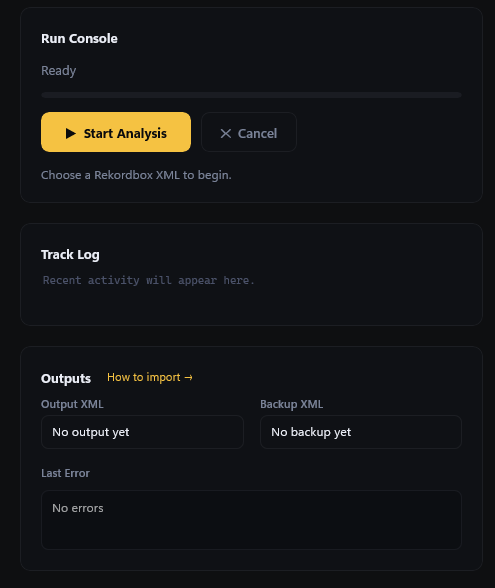
The Kimi Engine works fast - you should be able to process 1,000+ songs per 5 minutes depending on your CPU.
While the Kimi Engine is running you will see a Track Log with live results of what is happening. You will see it label the drop, then all cue points labelled A, B, C, D, E, F, G, H, and you will see the word Confidence - this is how confident the Kimi Engine is that the cue points are in all the correct places.
Normally everything works perfectly but you may get 1 in 100 songs where the track is hard to read - KimiCue may adjust a cue point on that one track, or if the confidence score is too low it will skip the track and you will need to add the cue points manually. This happens rarely.
Once finished you will see under the run console it says “Analysis complete” along with a completion time, the tracks cued, and any that were skipped.
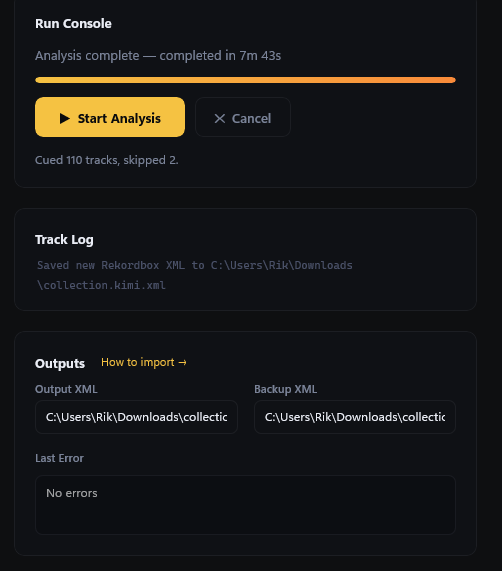
In the track log you will also see the name of the new xml you need to import into Rekordbox, as well as the output section which has the rekordbox.xml you will need to import and a backup of your original xml.
How to Import the KimiCue XML Back into Rekordbox
This section can be confusing for newer Rekordbox users - sit up and pay attention. As long as you follow it step by step you will find this easy the second time around.
Each time you make changes with KimiCue it saves as collection.kimi.xml in your Downloads folder (or Documents folder - wherever you chose to save it). We recommend that once you have imported into Rekordbox following the steps below, you delete the collection.kimi.xml from your Downloads folder. That way next time you use KimiCue you will always have exactly one file called collection.kimi.xml in your Downloads folder - you will see why this matters in the next step.
10Open Rekordbox Preferences
To load the new custom XML file KimiCue has created, go to File then Preferences.

11Set the Imported Library Path
Go to Advanced and you will see Imported Library. Click Browse and choose the collection.kimi.xml from your Downloads folder.
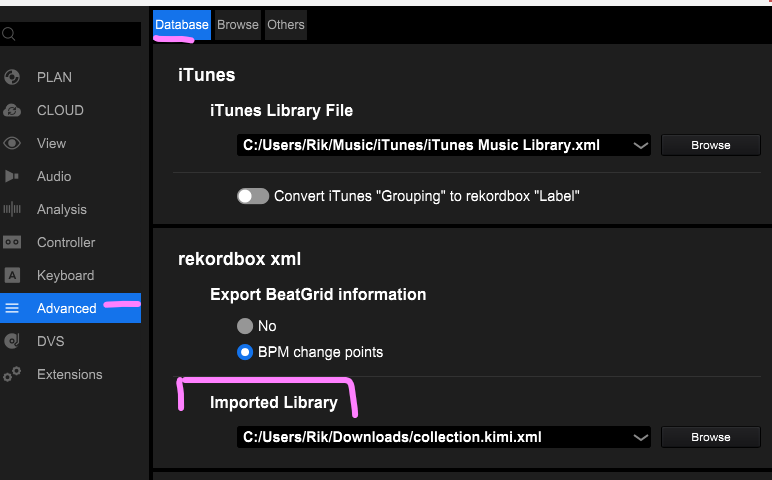
Once you have selected the collection.kimi.xml, Rekordbox will always look for this file when you have it loaded in the side window - which is what the next step covers.
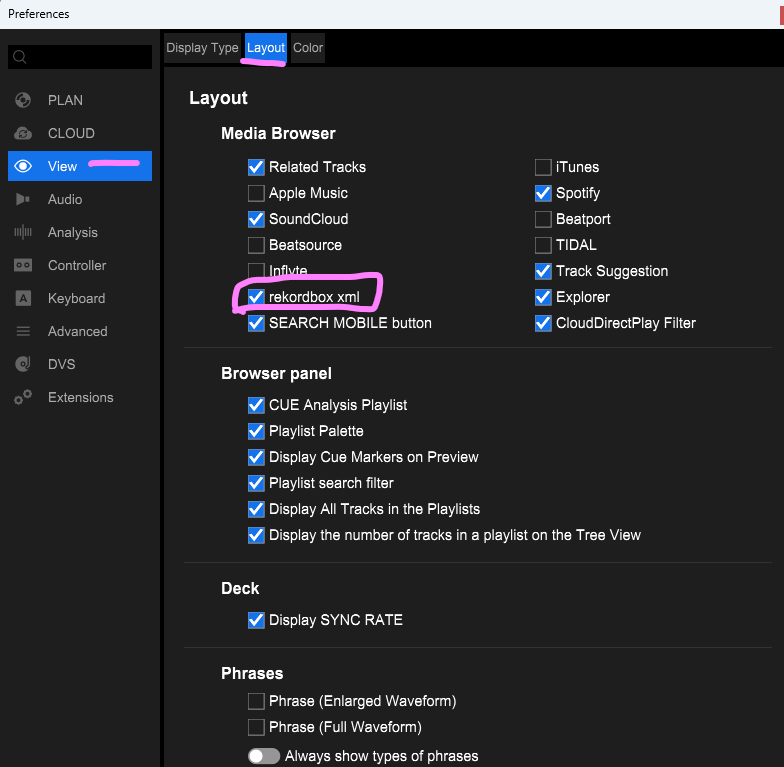
12Show the XML in the Rekordbox Browser
To make sure you can see the XML in the browser, stay in Settings, click View, then choose Layout and make sure rekordbox xml is ticked. If it is not ticked, tick it. You can also untick any other media browsers you don't use to clean up your sidebar.
Good news - take a breather. It always seems hard at first but once you have done this process a few times it becomes much easier. Even better - the xml will always be in the side media browser section from now on so you will never have to redo these settings steps again. Just the easy import part below from here on.
13Refresh the XML in Rekordbox
Close the Settings window. On the media browser on the left hand side of Rekordbox you will see a small icon which looks like a piece of paper with < > on it - click this as this is the XML icon. You will see rekordbox xml - highlight it and then click the circle with the arrow to refresh the xml.
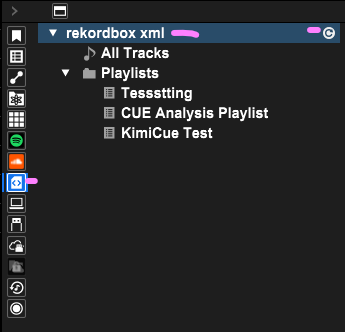
14Select and Import Your Tracks to the Collection
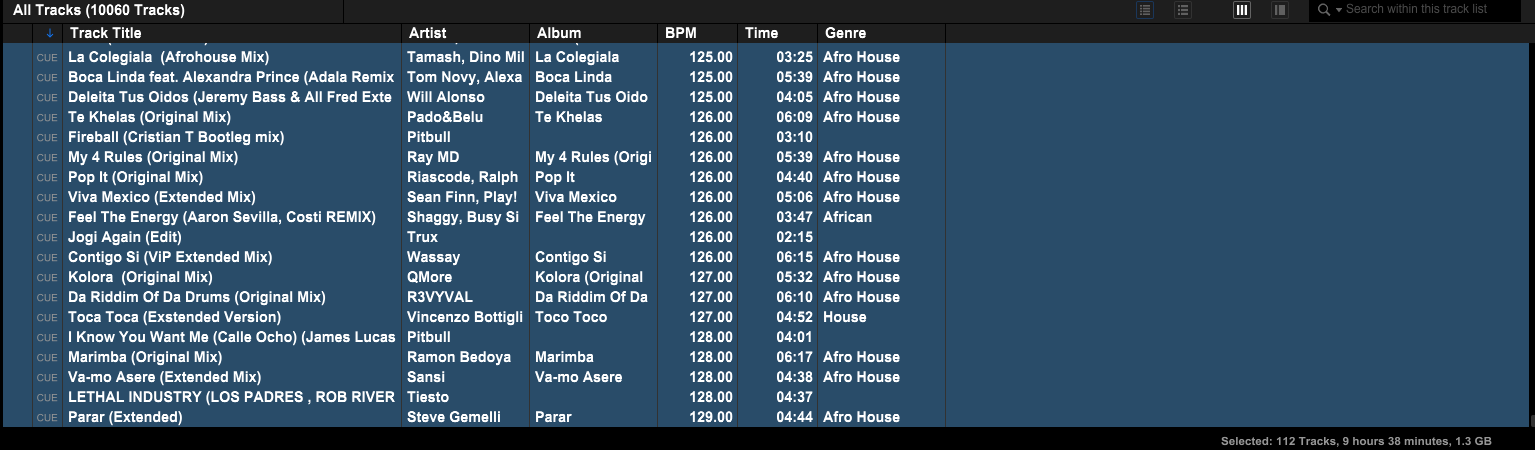
Click into All Tracks and you will see all your Rekordbox tracks. There are easier ways to do this once you know Rekordbox well, but we have kept this guide straightforward for all users including beginners.
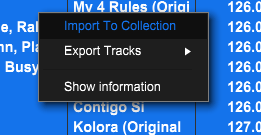
Scroll to the bottom of all the tracks - you will see the word CUE on the left of the tracks KimiCue has set hot cues on. Click on the top one, then hold Shift and click the bottom track to select them all.
Please note: If your tracks with CUE to the left are scattered, use the media browser and go to the folder where the songs are (on a USB stick or your Windows hard drive), then select all in that folder and import to collection from there.
You may see a box which says “This track already exists in the current selection”. Just tick “Don't ask again” and click Yes.
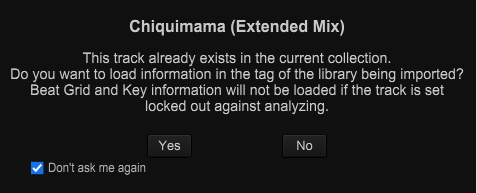
You will see the tracks importing quickly - around 2-3 tracks per second.
15See Your KimiCue Hot Cues in Rekordbox
Now go to the folder where the tracks are on your media device and you will see all the cues - saving yourself countless hours of work.
You will see all the KimiCue hot cue points set on the waveforms in the preview windows on the tracks.

Load the track in either deck and you can see the hot cues on the display. If you are using CDJs you will also see the memory cue points - which you can only get with the Pro version.
That was a long guide - well done for making it this far!
Understand that once you do this once or twice it will be much easier next time, and you can start using this method across many different custom XMLs and playlist XMLs. Once you have done this once the XML will always be in the side media browser section so you will not have to redo the settings steps - just the easy import part.
In the coming days you can find a section on our website on the XML Tools section where DJs can use tools to customise their XML collection and speed things up - delete, add, bulk genre add and more. But for now we have covered the main how to use KimiCue for Rekordbox.
If you enjoy using our software be sure to share it and send other DJs and musicians this how to guide.
Tips for Using KimiCue
Set your defaults in Settings
In Settings you can set a default cue template and default genre mode. If you mostly use extended mixes and only DJ one genre, set the defaults here and click Save. For example if you are a Techno DJ who only plays techno with extended mixes, set those as your defaults and you never have to change them.
Change the language
You can choose different languages in Settings and restart the program so you can use KimiCue in your own language.
Reporting crashes or issues
If you have issues with your specific Windows laptop or PC and see crashes, go into Settings, save the log, and send it to our support team. If you are on the free version our support team can take a little while to get back to you. If you are on the Pro version our support will get back to you within 1 business day.